Soooo, I’m way past this update. The last post I really had was about the shed, and how I was working on clearing out the spot for it. I’m happy to report, that was about three projects ago, and all went well. I’ll touch on the other projects shortly, but here’s how the Shed all went down.
From start to finish, this project took 7 months. Why you might ask? Well, because besides leveling and clearing the site for the shed, roped in with this project ended up being 4 other projects:
- French drain
- Gutter drain
- Electrical work
- Side of house bed and mulch
I’ll get into each of those in a bit, and in fact I’ll split this up into three or four parts. But I’ll start with some remaining shed leveling and the French drain
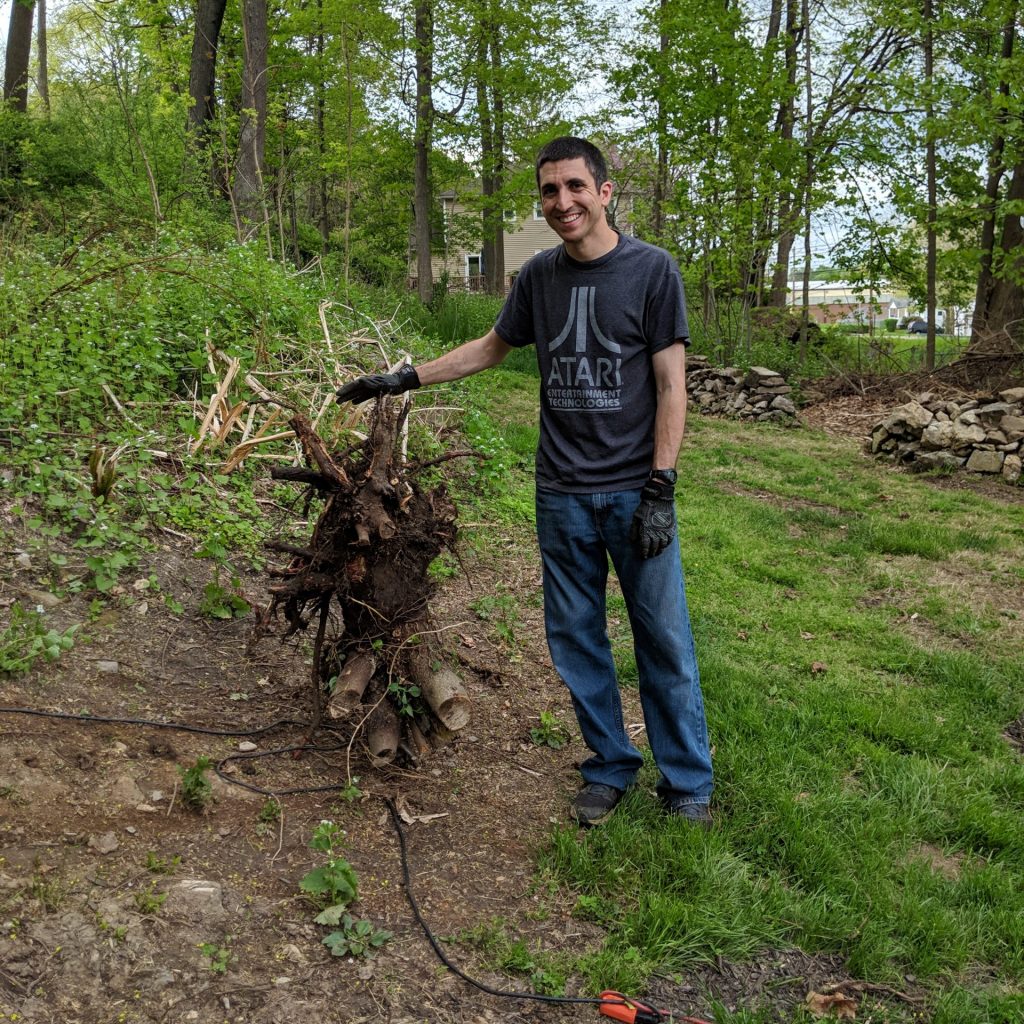
First, the site you saw in my previous post we had just ripped out the big rock. I needed to finish some of the leveling and rip out some old stumps. The stump wasn’t going to be in the way of the shed, but would get in the way of getting into and out of the shed, so it had to go.

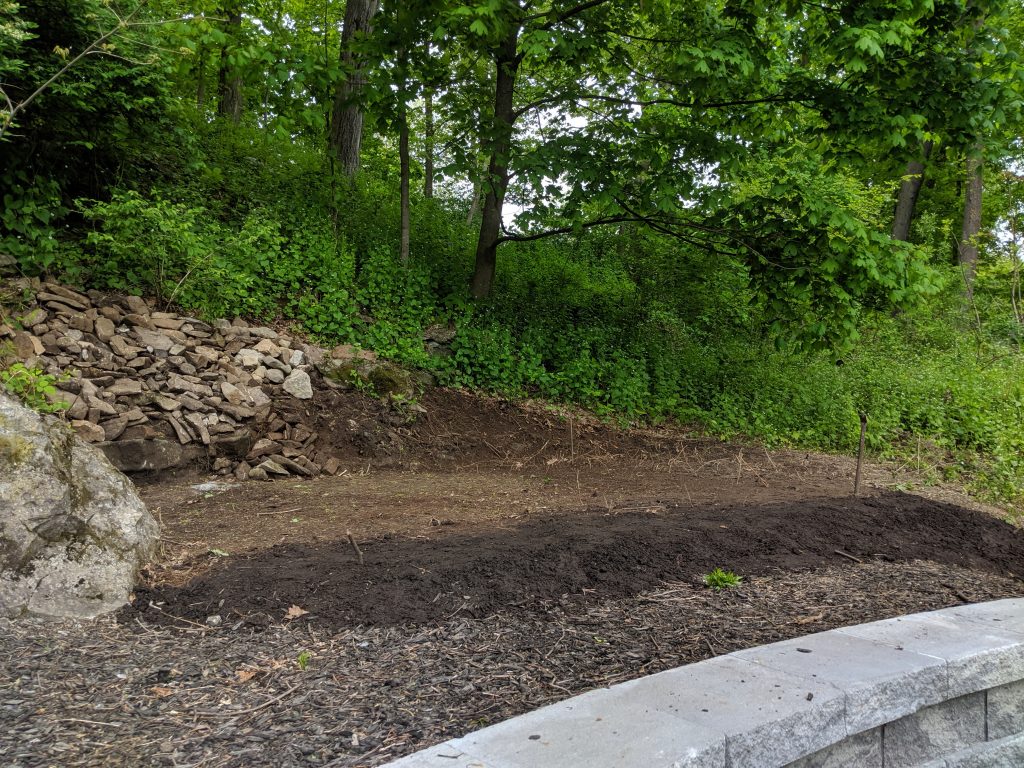
I also needed some additional dirt for the ground (the darker dirt below), and I used rocks that were “excavated” to make a pretend retaining wall for the area that was dug out.
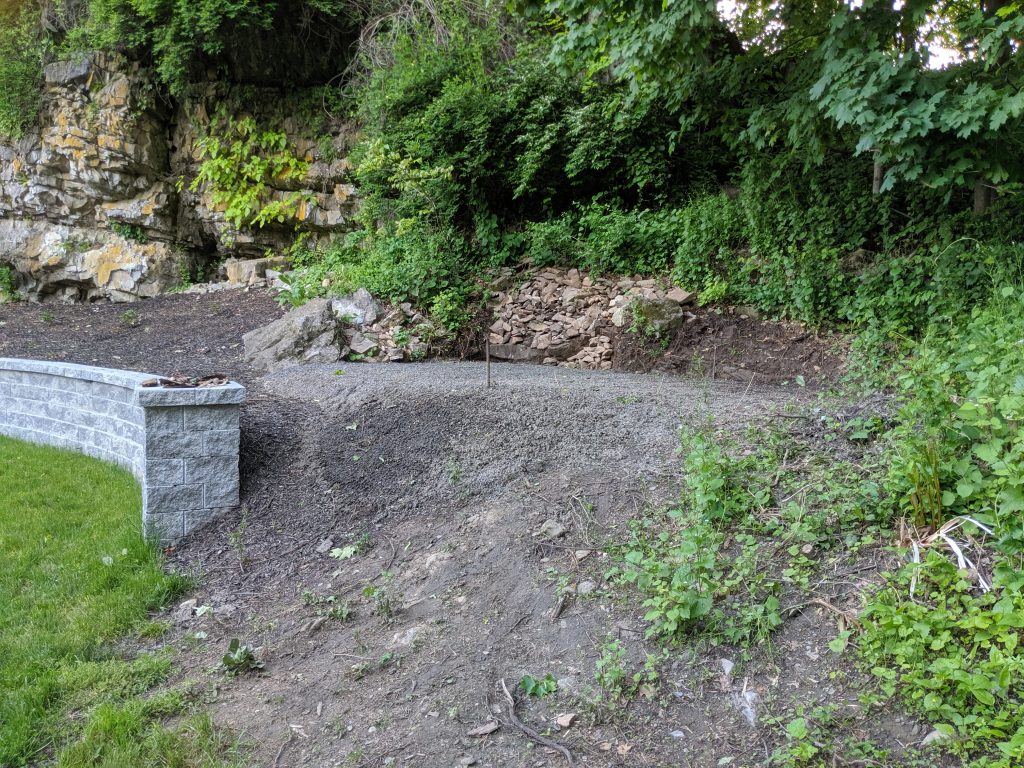
Then add some stone to make the space for the foundation as solid as I could, plus give me a little extra room for leveling. This, also, has the added benefit of me using the pile of stone that Jen and I collected and stored behind the garage. The stone was originally used in the flower beds around the house.
Now while all this was going on, I decided, I’m not tired of digging yet. You see after clearing this whole site for the shed, it was going to be some time before the shed was actually manufactured and subsequently installed. And I had some other plans.
The French Drain – The Beginning
A French drain is to help drainage in your yard. Due to a combination of things, including poor soil, compacted soil from when they built my retaining wall, and an excessively wet summer after the wall was built, we had a lot of water pooling up in our back yard. This really hurt the grass we were trying to grow. So step 1, till the yard a bit, and break up the dirt.
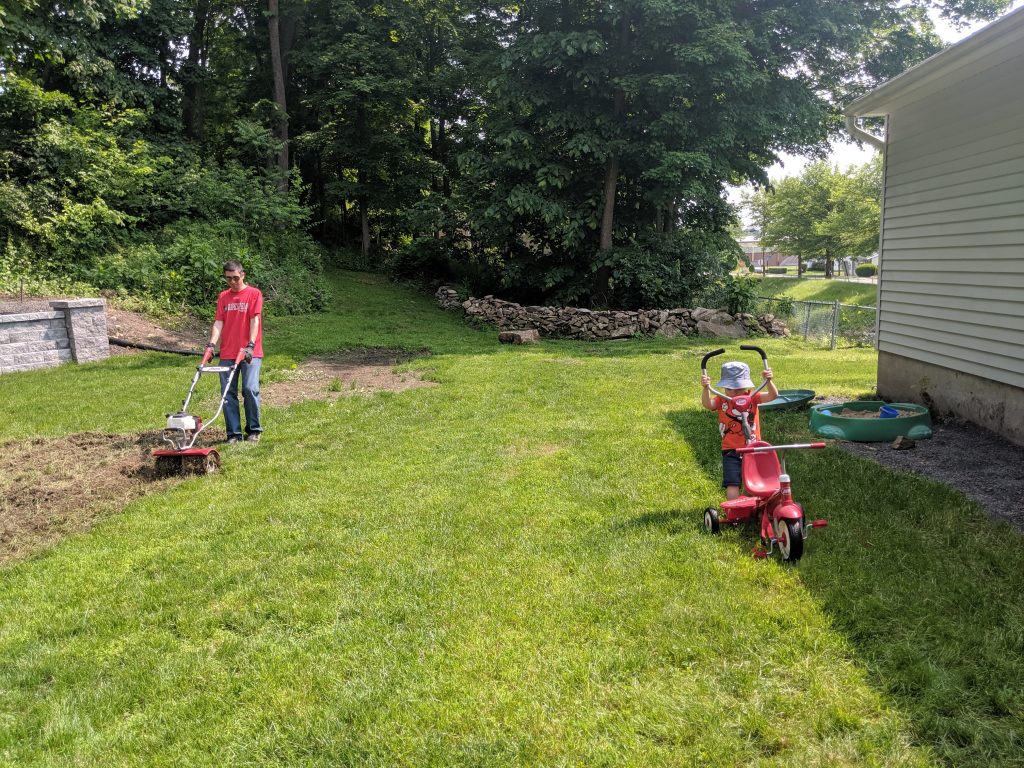
Step 2, start to dig up a channel to lay the french drain pipe.
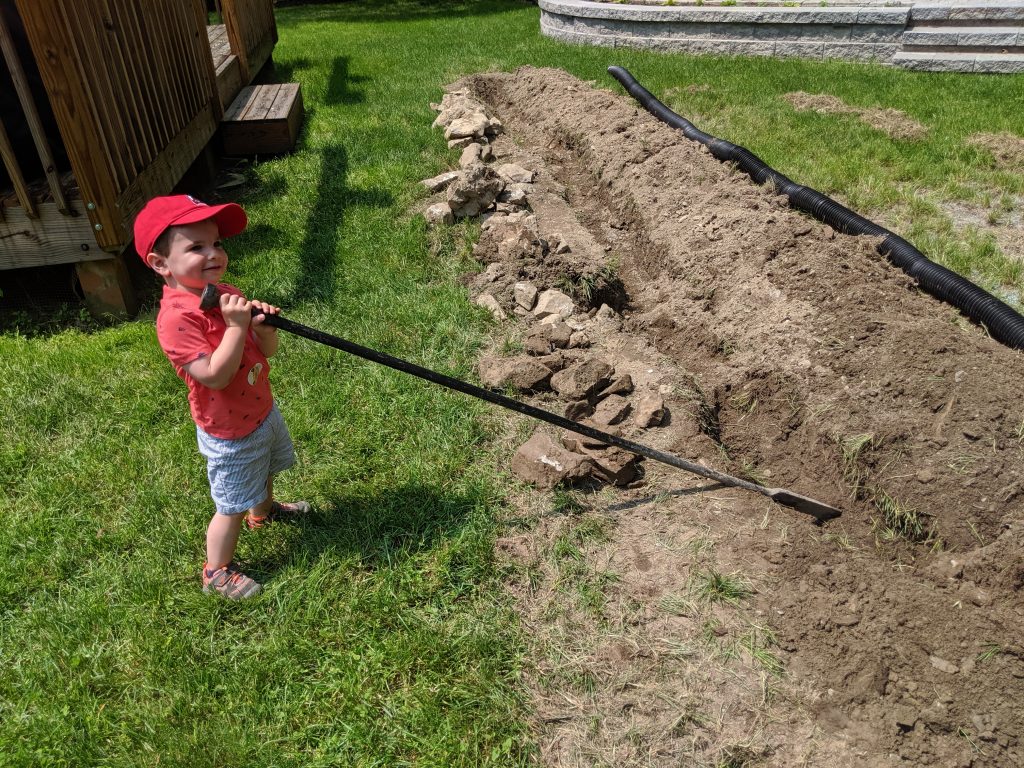
Now this had an unintended benefit – one, I’ll have extra dirt as the french drain will displace some of the dirt that I’m digging up. I can use this dirt to fill in the side of the house where it’s a little low and finish the bed there. And the rocks that come up can be used to complete both the rock wall I have by the town’s fence and the wall of dirt I created by the shed.
Next, lay some weed barrier down, put down a little stone (which I had to buy – I wanted larger stone that would allow better water flow than the small stone I just used as a base for the shed), lay the French drain pipe, and fill with stone, cover with the weed barrier, and finally cover over with dirt.
That French drain pipe is essentially black drain pipe with pre-made holes throughout to let the water in. The theory is the water that goes on top of the ground seeps in to the French drain cavity that was just created, through the rocks, and into the pipe. The pipe has a slight grade to it was well to drain the water out.
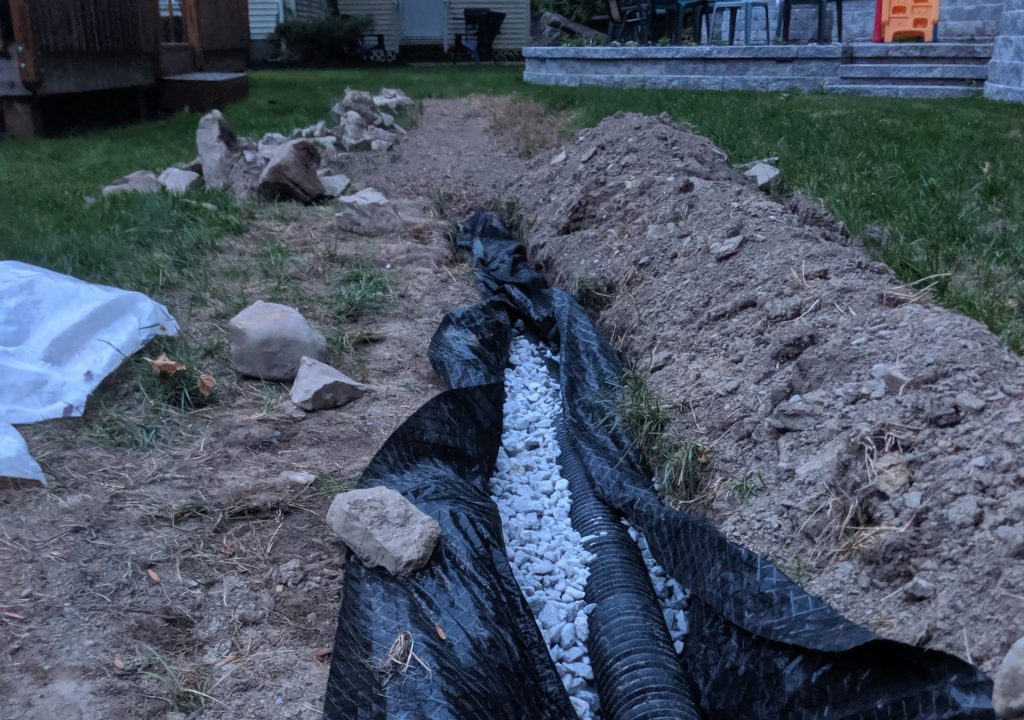

Of course nothing is ever easy – there was a lot of rock to move, and some of it was a bit stubborn. In fact in some places I had to dig from side to side a couple of feet to get to the other side of some of the rock in order to get the rock out of the ground. I wanted as straight a shot with the pipe as possible.
Alright, so that’s it for Part 1, where we went from the beginning of May to mid June. Remember, this is mostly only happening on the weekends. In Part 2, I’ll go over the next phase of the French drain, the gutter drain, the side bed, and the shed installation – which all runs from mid June to the end of June, so things start to pick up!
