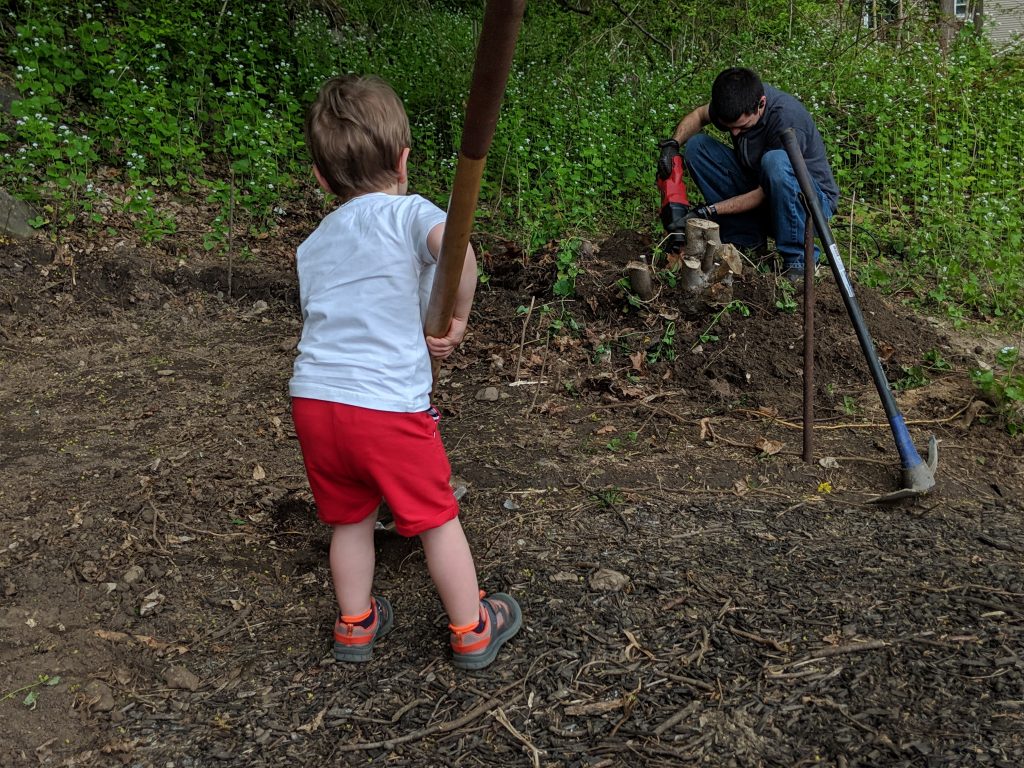
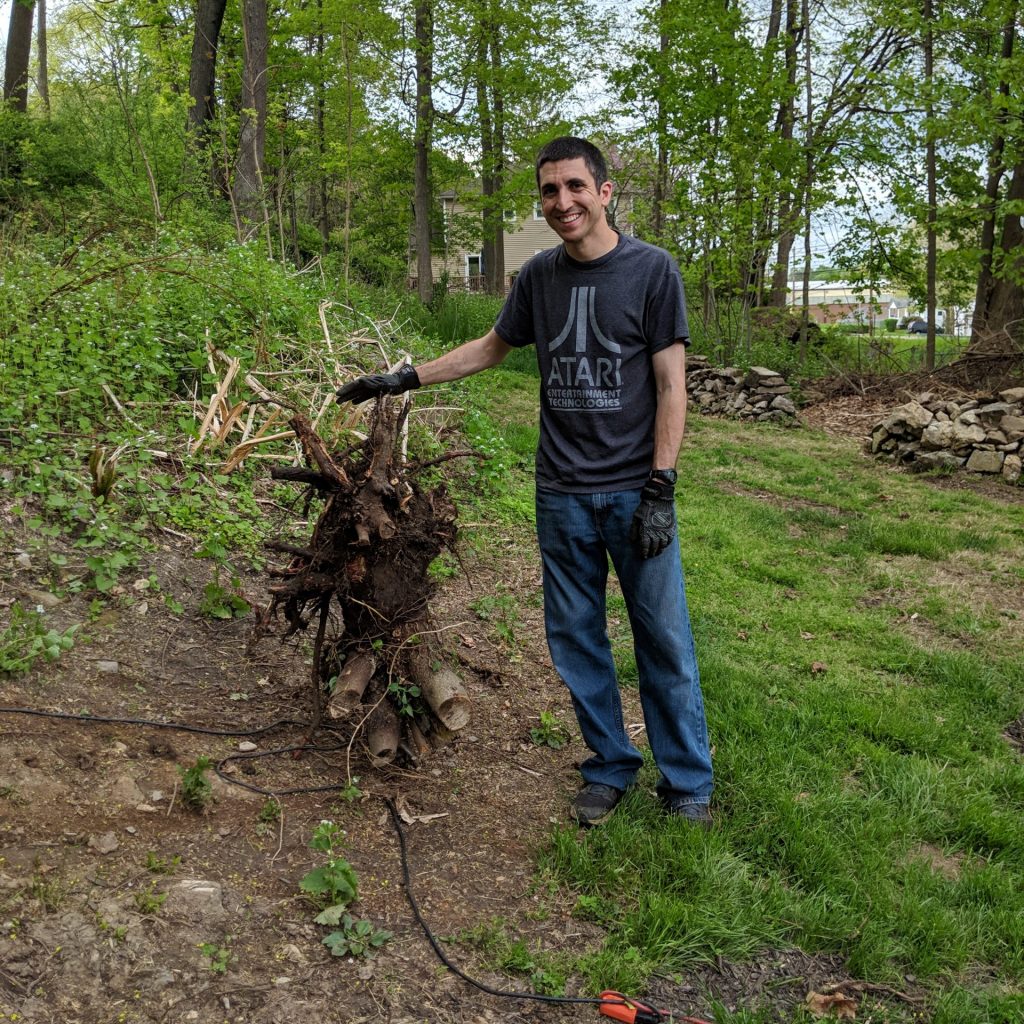
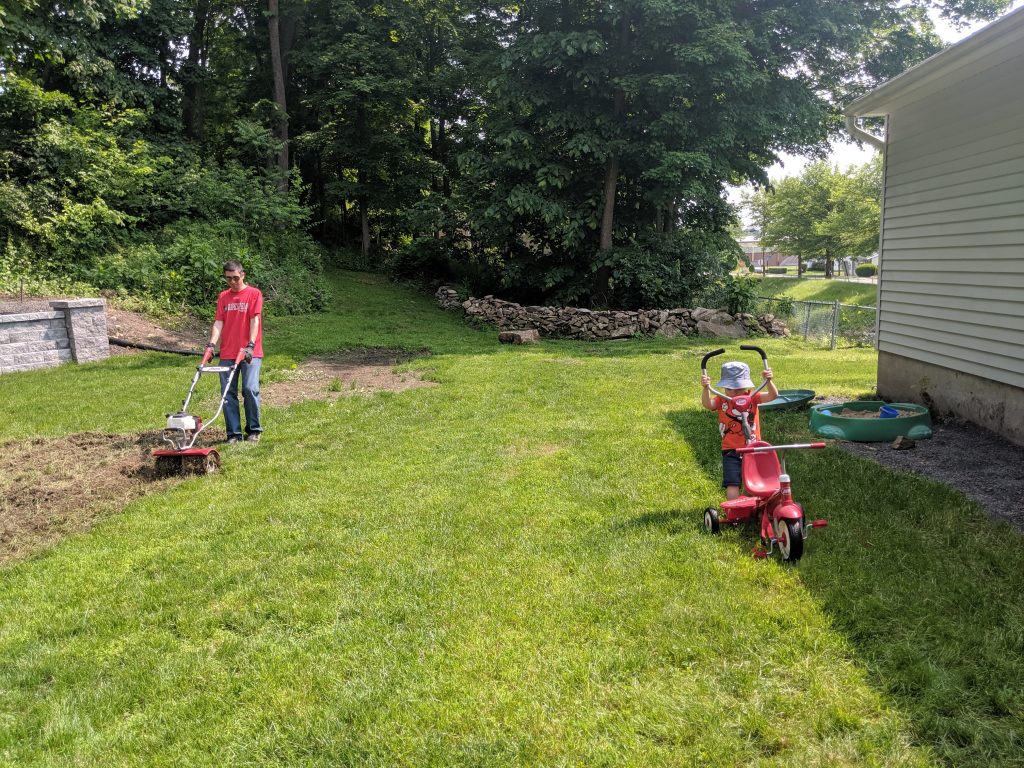
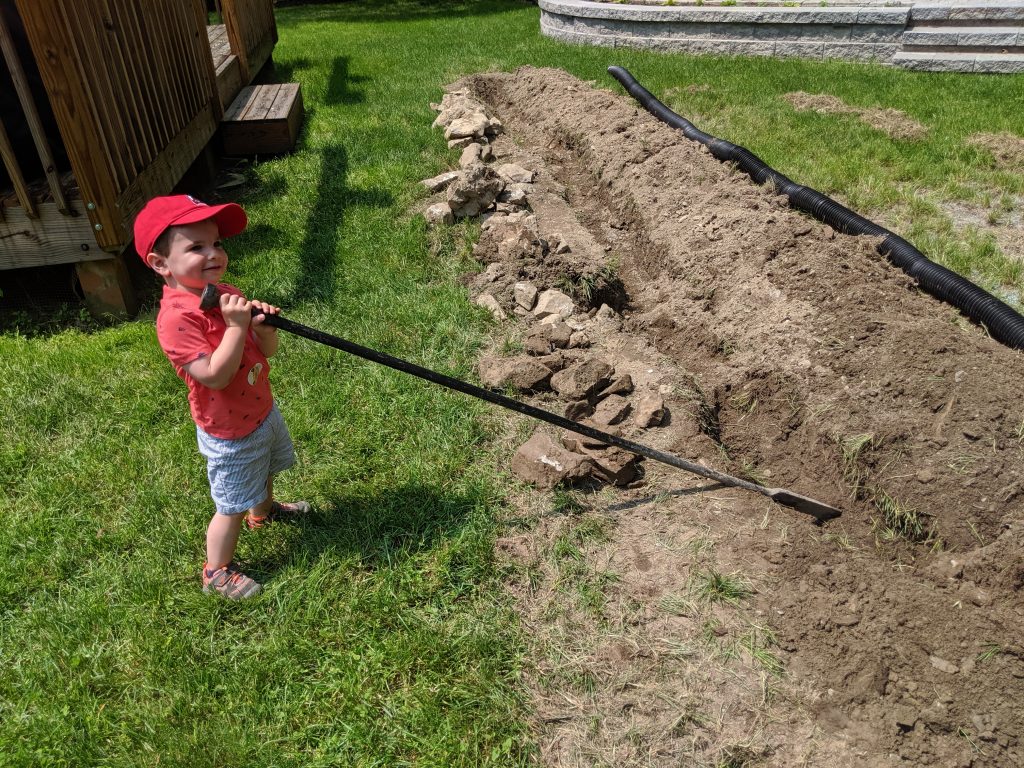
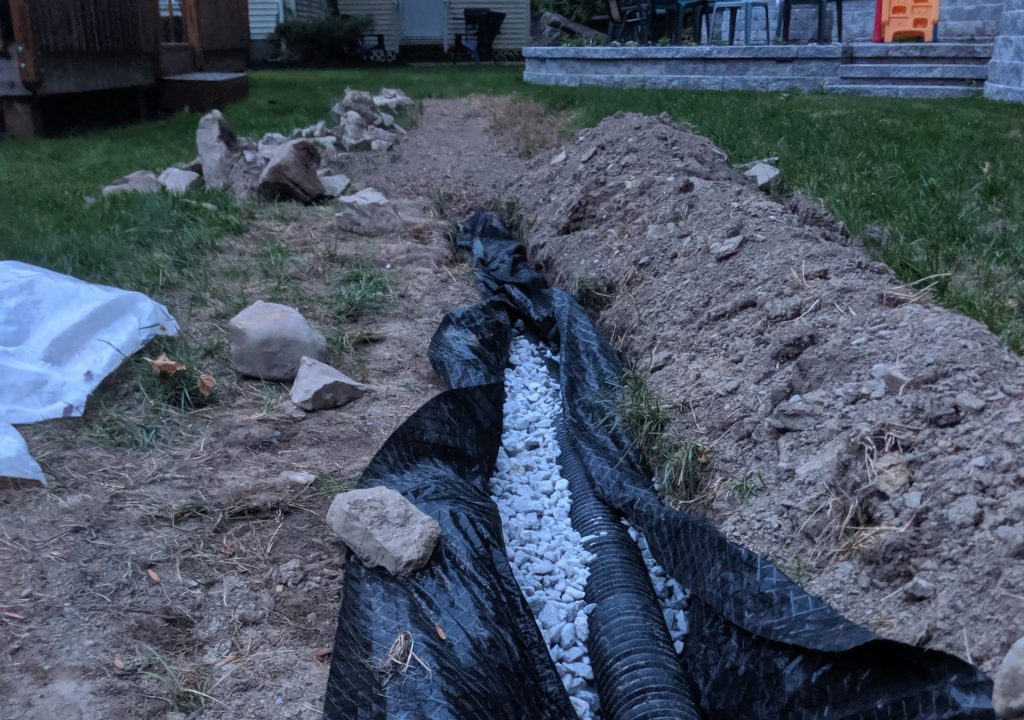
Now we’re getting to the good stuff. The French drain is of course taking longer than it should, I need to buy more stones to use around the French drain pipe that is going in the ground. But one of the benefits of all this is that I’m digging out a decent amount of dirt that’s being replaced with the hollow pipe and rock, and so once again I’ve come up with a purpose for this which involves yet another yard project – the side bed.
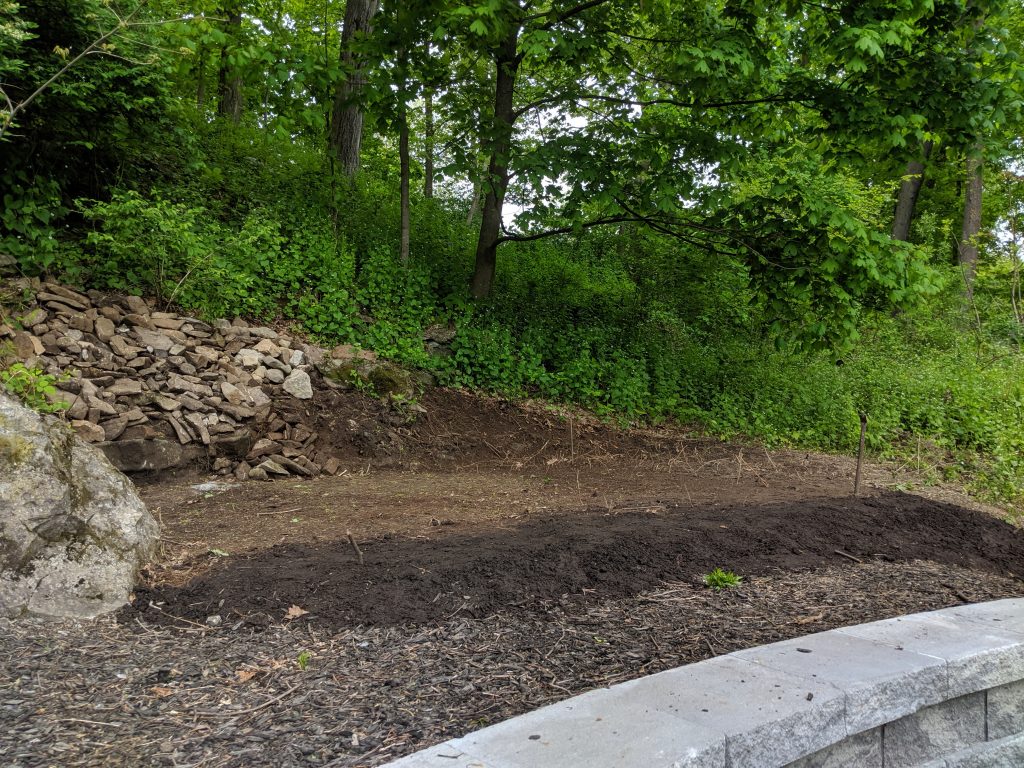
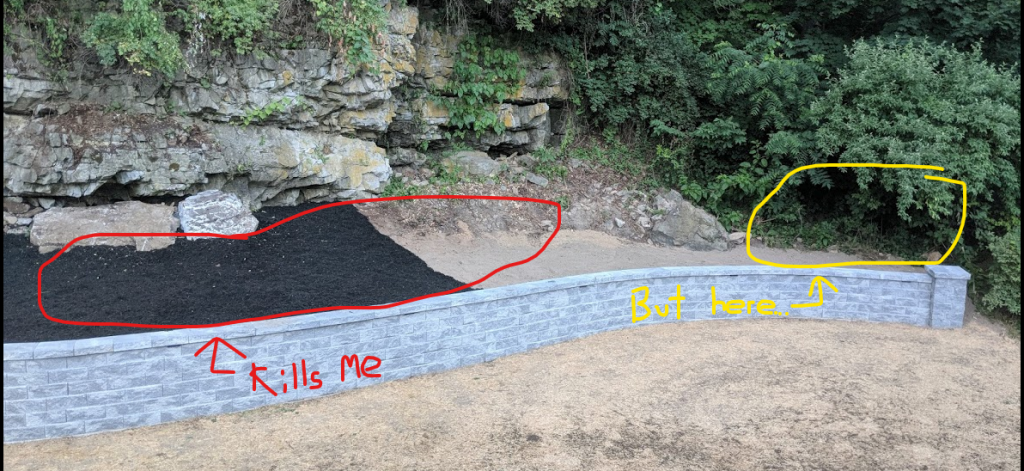
You see about a year or two ago, we ripped out some old buses along the other side of our house closest to Bob Neighbor. There is a tree bush thing that we kept, but where the bigger unwieldy bushes were those are now gone and I started to replace it with empty mulch and grass. I got about halfway done before the project was put on pause because, well, summer was over. But now I can take that dirt that I’m removing for the French drain and put it here in the side yard.
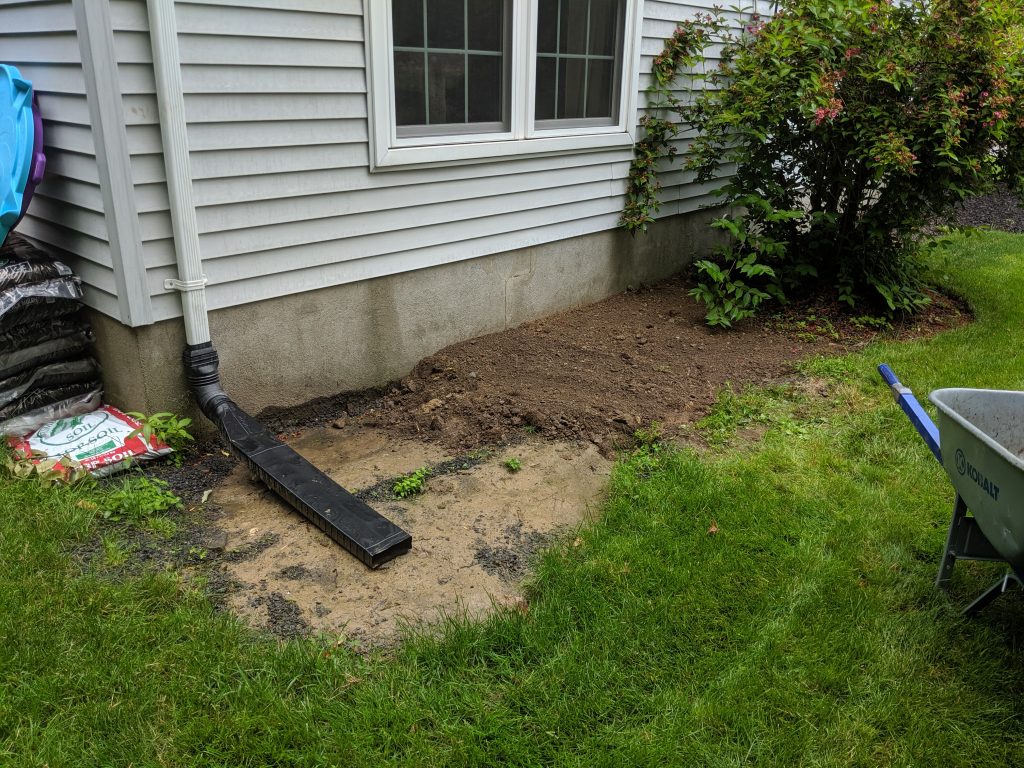
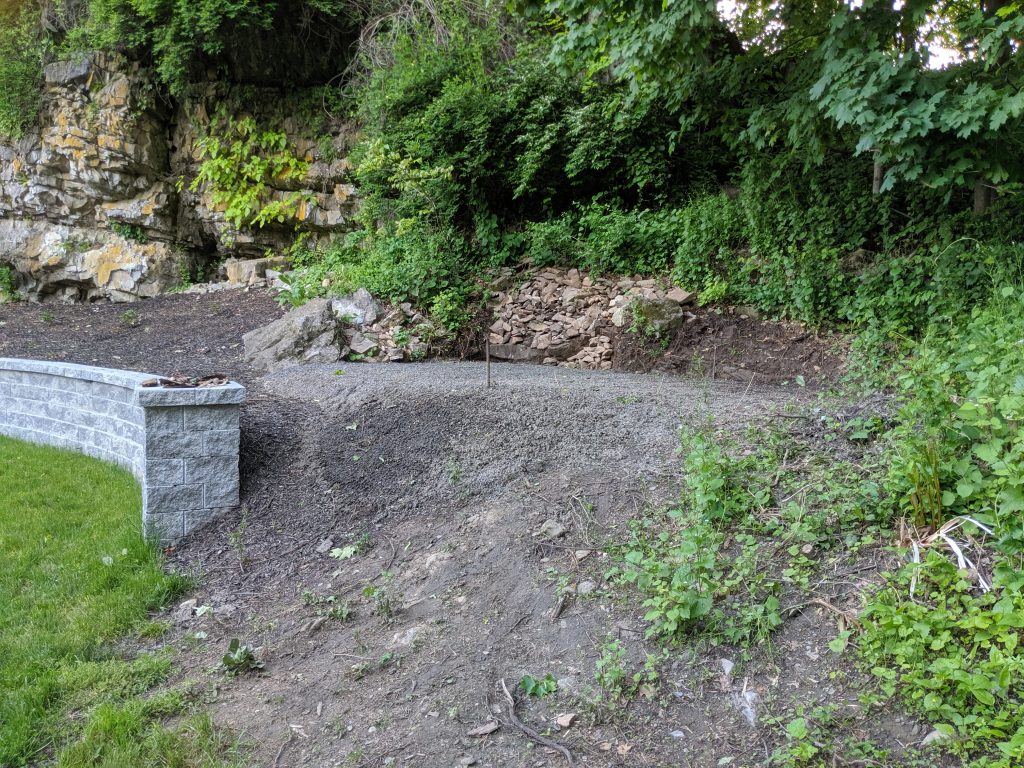
Why do I need dirt there? Because once again this was filed with weed barrier and those little gray stones. I was able to get nearly all of them up on this portion but that left the grass in my yard a good two to four inches above where the stones were. And, more importantly, the water would actually run into the foundation, not away from it, which would be really really bad over time. So I needed to build this up, and pitch it slightly away from the house.
And if you’re wondering what happened to the stone that was here, it went behind the retaining wall to help level out the area where the shed is going.
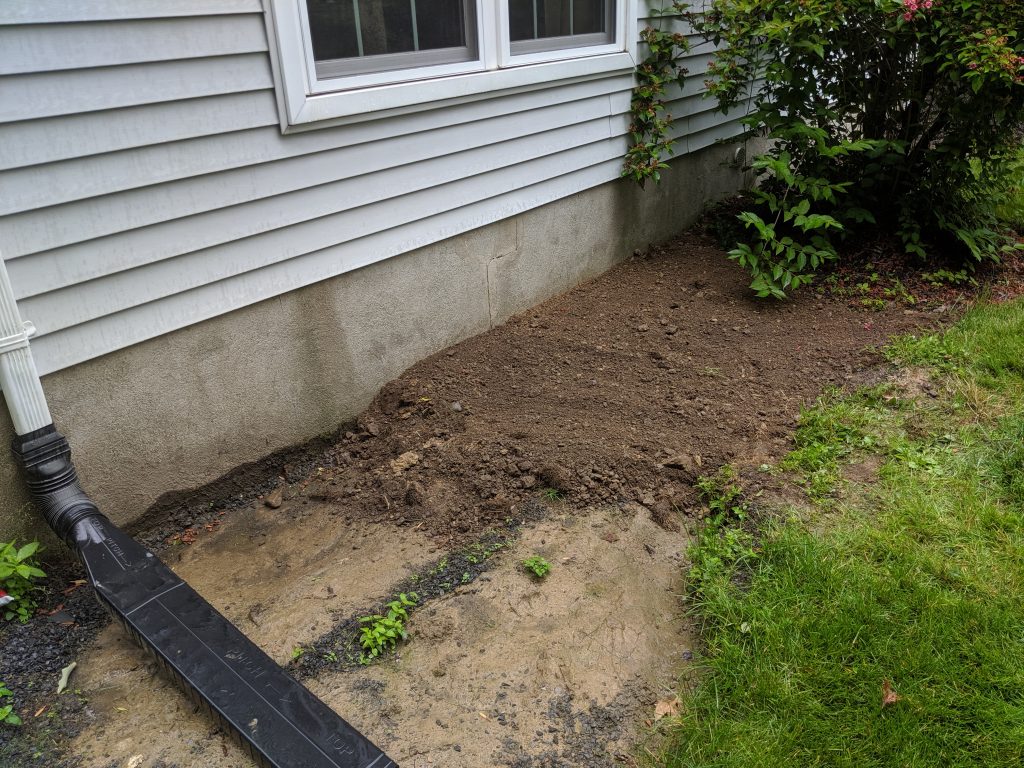
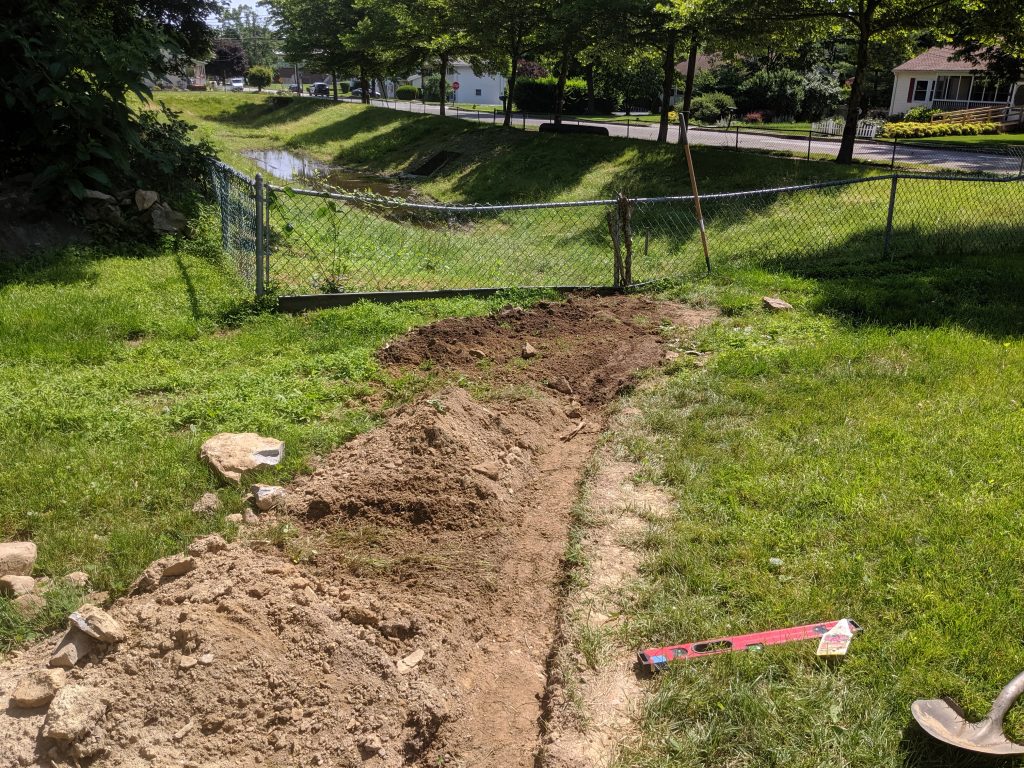
Next I covered up as much of the French drain as I could, and started to seed over it. This is only about a third of the French drain.
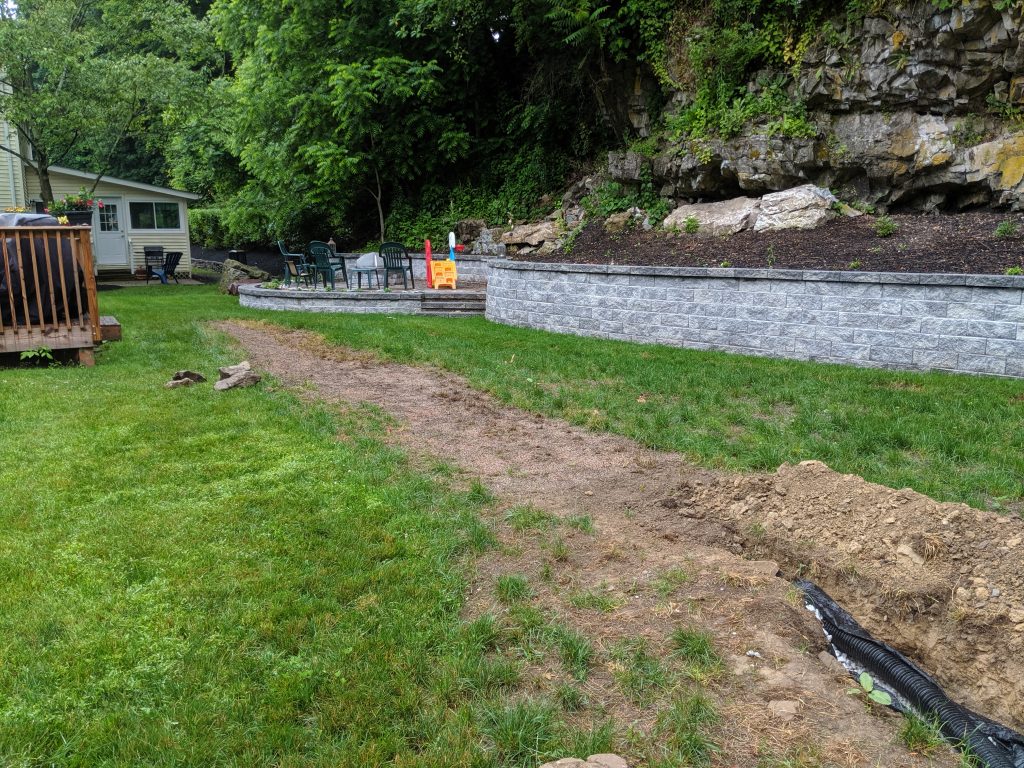
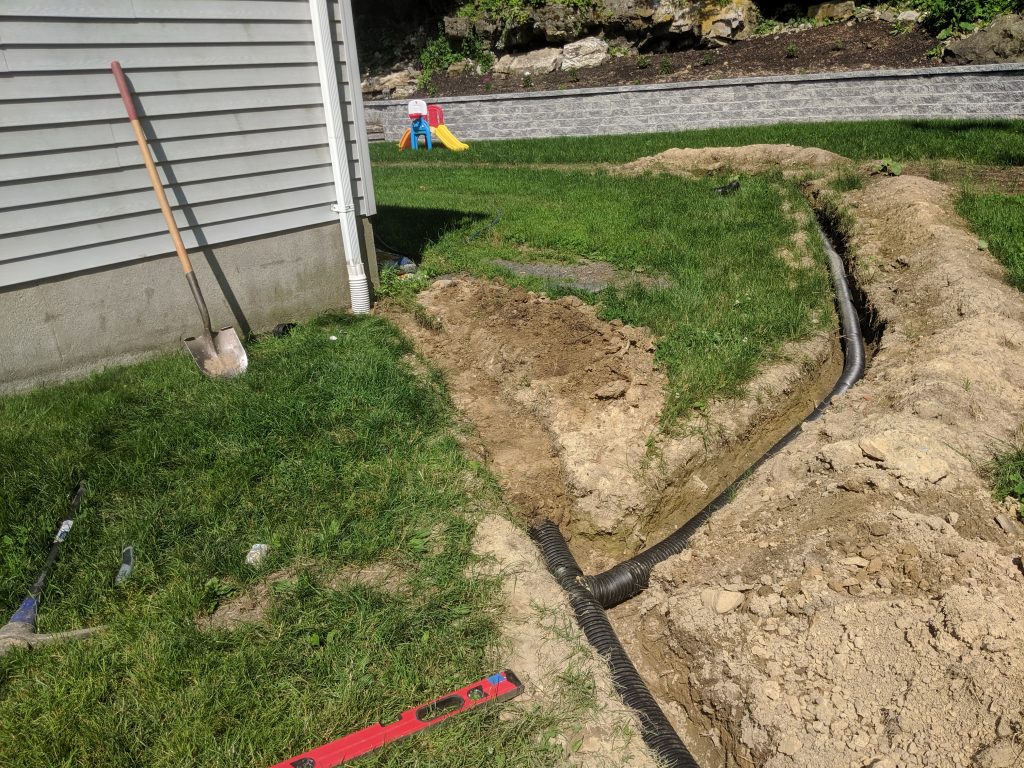
The following week I finished digging the French drain out to the side of the house, where it will connect to the gutter drain pipe. Let me explain…
You see when I first moved into my house we noticed that the side of our house that borders town property, where they have a drainage ditch dug out, seemed to be eroding into aforementioned ditch. Half of the gutters on my house are emptying down this slope into the drainage ditch. And so no lie it was almost a foot lower than it probably should have been. I installed a drain pipe from the front gutters to the drainage ditch very early on. I had bought enough pipe to run a second, but just never got around to it. It wasn’t as important because of how the gutters were run at my house (I’ll explain in a moment), but I felt like should still be done for the sake of it’s the right thing to do.
The gutter on the front of my house splits drainage on each side, half to Bob Neighbor’s side and the other half empties into the front garage gutter. It’s this front garage gutter that I originally piped to the drainage ditch. The back gutter on my house all drains to Bob Neighbor’s side. So only the back garage gutter would get drained out.
Okay, with that explanation out of the way, since I was going to be running the French drain out to the drainage ditch, I might as well connect in that back garage gutter. Besides, if I had my way, if I were to ever replace my gutters I’d try to run all water down the side into the drainage ditch and have none of it run to the Bob Neighbor side, since that side gets swampy. I’m not sure gutters could handle the volume of water though.
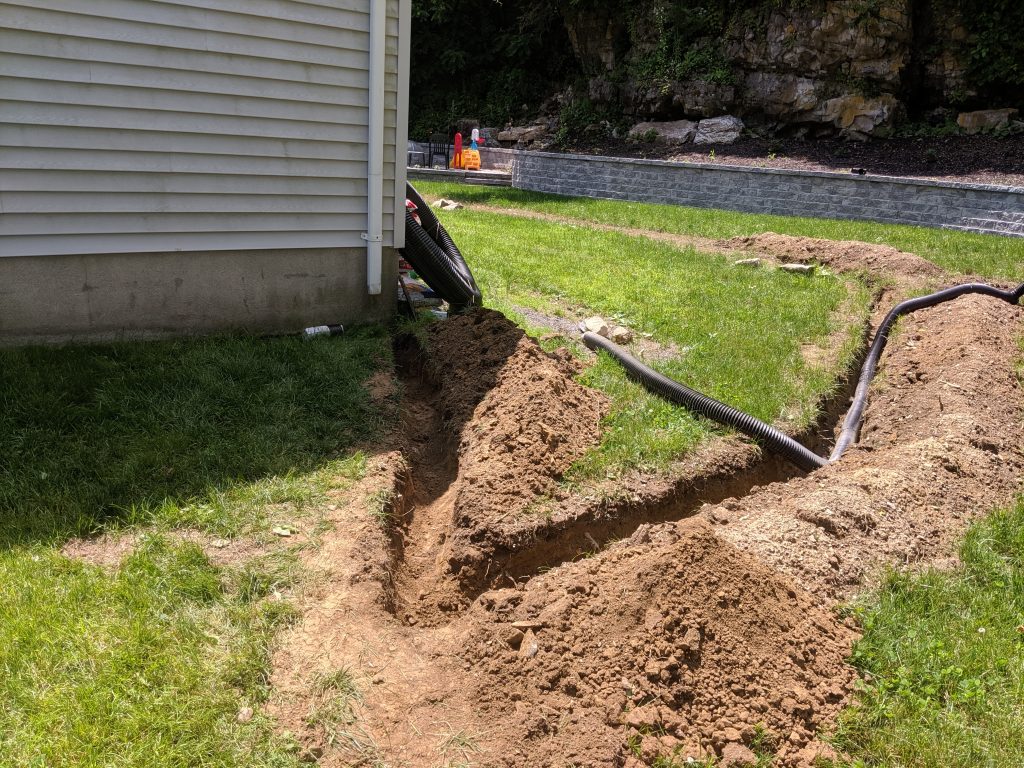
I still needed to dig out the remaining half to the drainage ditch. Once done, I then test fit with the pipe to ensure there’s enough of a pitch so water drains out went relatively well, but some minor alterations were needed. I was doing this work late at night on a Thursday, because on Friday, the shed was about to be installed, and I didn’t want the shed folk to have to jump over a ditch where I was running pipe.
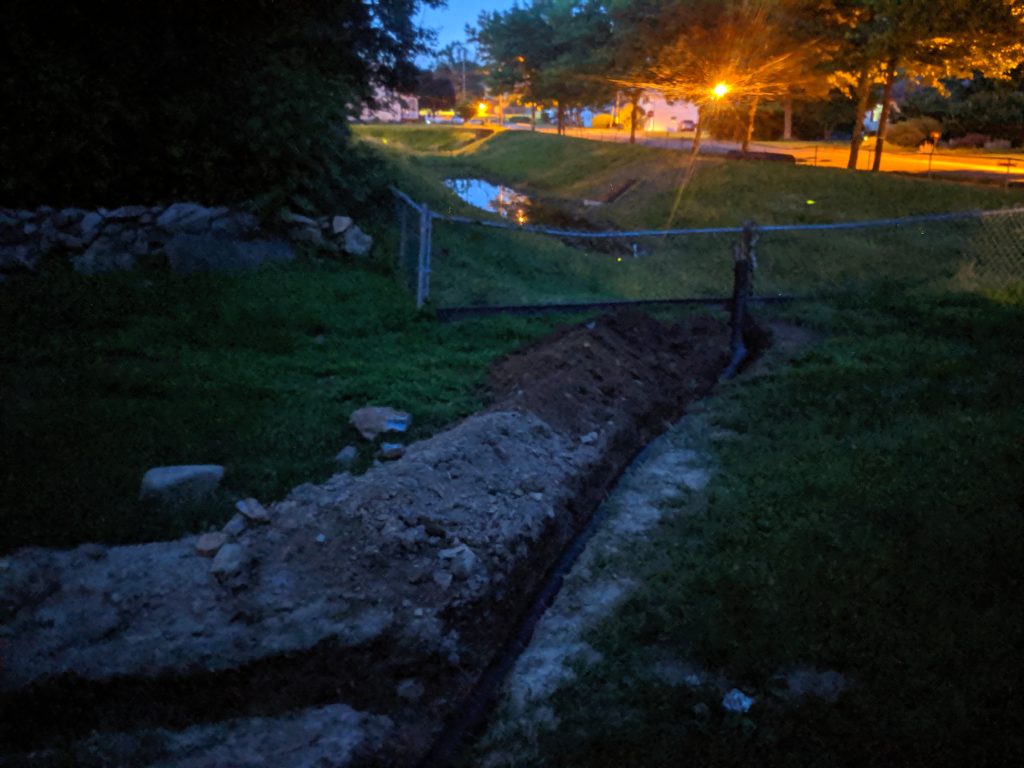
On Friday, I finished cutting the pipe, added the T to connect the French drain portion in, again, tested the pitch, and began the processes of replacing the dirt on top of this. Note that because this is just drain pipe with no holes, the pipe goes right into the ground, no need to add drainage rocks like the French drain pipe. Notice in the pictures that the second half of the French drain remains uncovered.
And now the shed begins installation! This may have been some of the most exciting work that I’ve had done since we got the new windows in our house. I was essentially buying space. And I knew that as time passed I was going to need it, or else one of us was going to lose their parking spot in the garage!
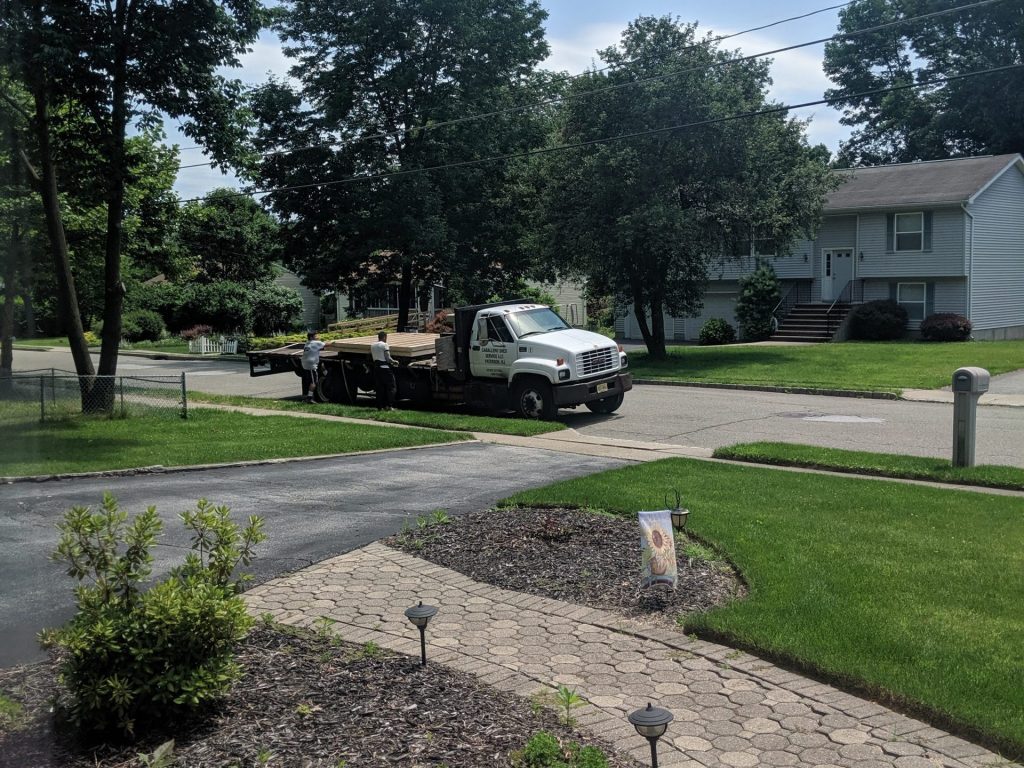
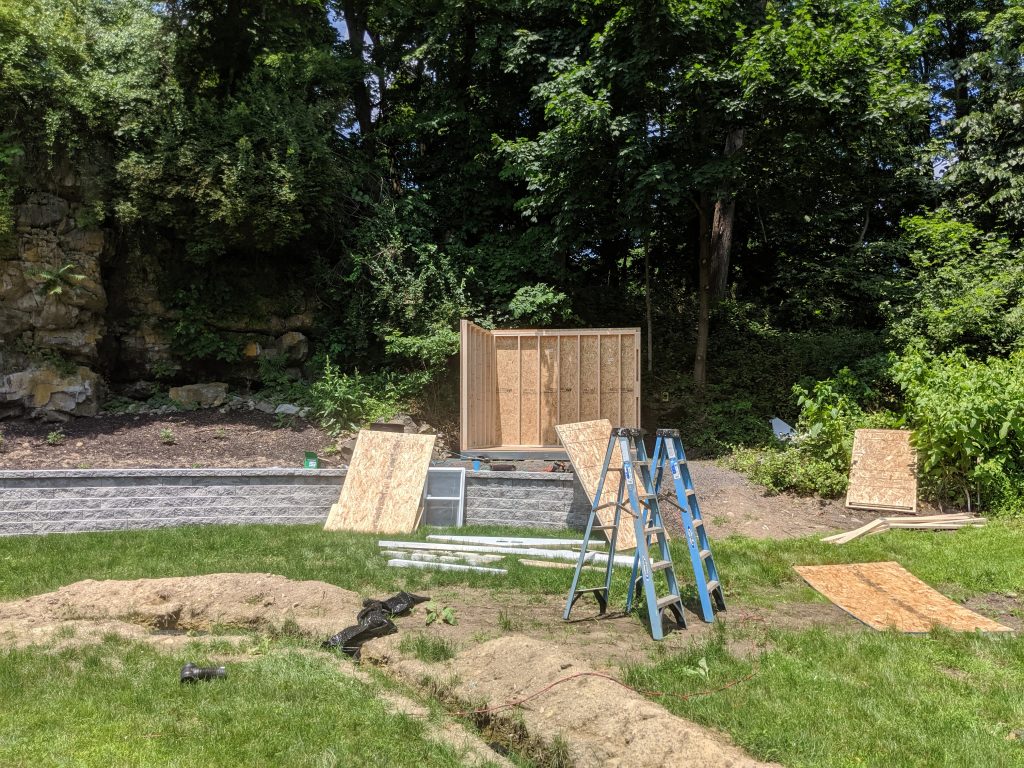
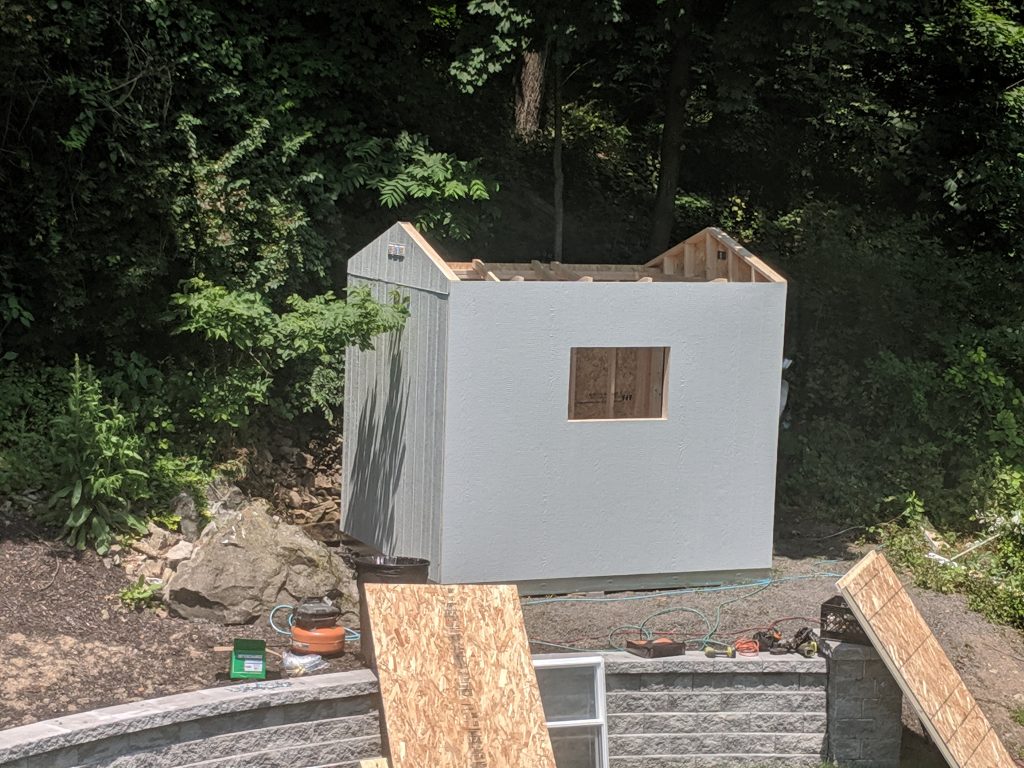
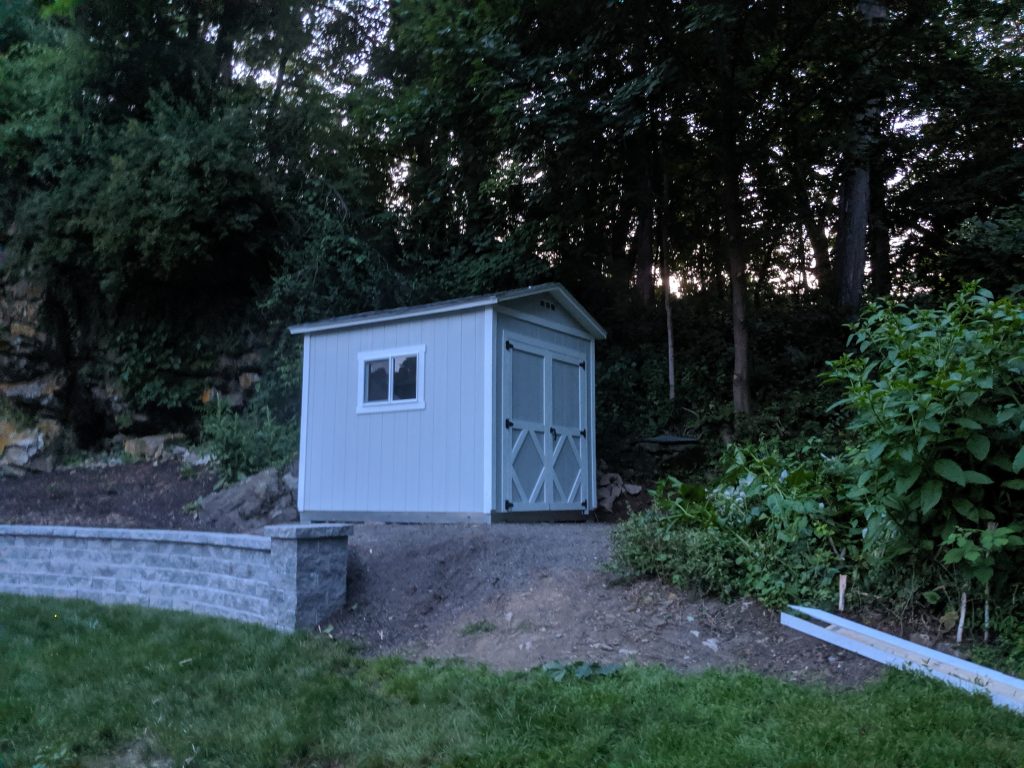
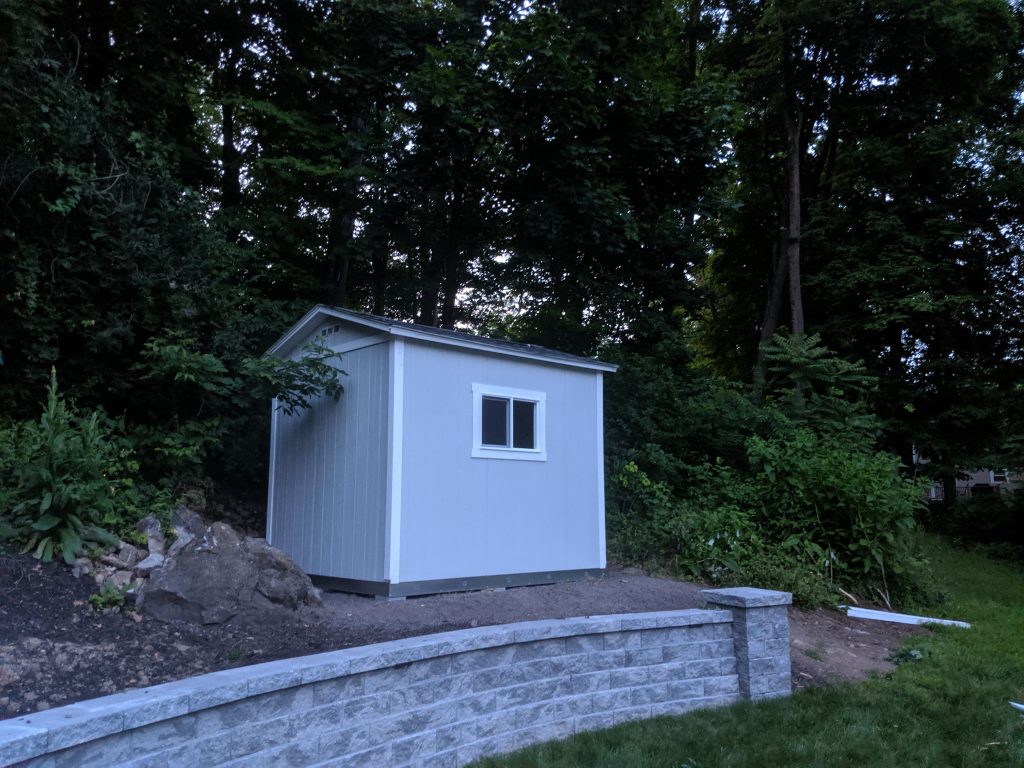
They did have some issues where they needed to cut wood to make it work, for some reason. Everything came from the factory with everything pre-cut and ready to assemble. But they managed to fix the issues and got everything done within a day! I now had an extra 80 square feet (plus a little more – more on that later) of storage.
And on that note we end Part 2. Part 3 will go over getting electricity up to the shed, and then after an intermission while we went to Disney World, more work on the side yard, and completion of the French drain (finally!). There will be a Part 4 where I add some finishing touches to the shed as well!

